
SBN Client Installation
SBN.exe Client Installation
This document contains instructions to install/configure the SBN.exe client on a Windows PC.
Most files are found in the Downloads section of our support site at https://support.innovative247.com/
Download the desired version of the SBN client from the Downloads section @ /Releases/SBN_Main
There is no installation. You unzip the file into a directory of your choosing. Where you place SBN.exe may have permissions restrictions. Please review Wiki document ‘SBN Dependencies’ for more information.
Optional: Create a shortcut of SBN.exe on the client desktop.
Data Server
If you are an On-Premise customer then you will need to determine from your IT department whether you are running a Sybase or Sql Server backend.
Firewall
Check with your IT department to ensure your Firewall does not block traffic from SBN.exe to your data server.
SQL Server (MSSQL)
SQL Server users do not require additional software. You will need to work with your IT department in order to determine the correct Server name.
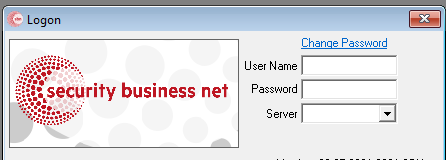
Sybase Client
Companies using Sybase require the Sybase client installed on each workstation running SBN.exe.
Note: All Innovative Cloud customers are on Sybase.
There are several versions available in the Downloads section of https://support.innovative247.com/ at /Installs. Look for files starting with SYBASE_PCCLIENT.
Installation has been known to fail for various flavors of Windows, but as a general rule start with the newest version and work toward older versions if needed.
If an install fails be sure to fully uninstall and remove the failed version before installing an new version.
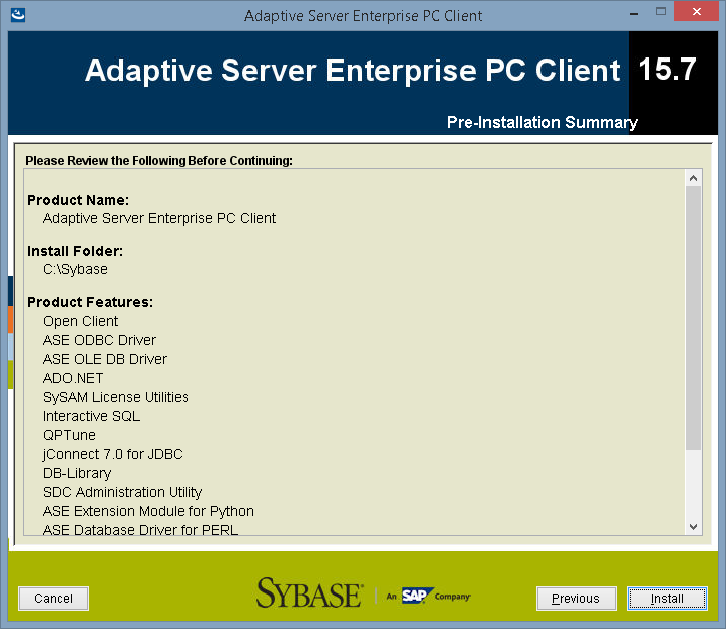
Install the Sybase PC Client x32 for 32bit PC’s or x64 for 64bit PC’s by running setup.exe within the Sybase Client folder.
The installation location should be set as (c:\Sybase).
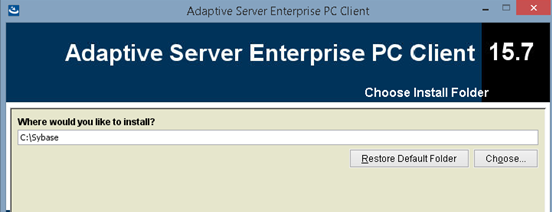
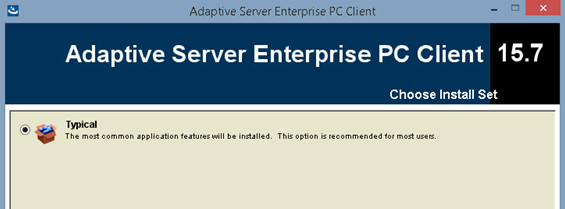
- For the Installation Type choose “Typical.”
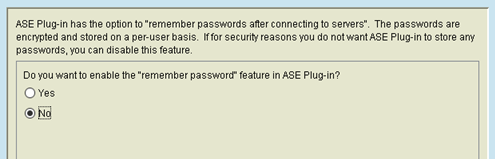
- For better security chose “NO” to “remember passwords
- Review the installation, and click Install when ready.
sql.ini
After the Sybase Client is installed, locate the file called sql.ini. This file tells SBN.exe how to access the Sybase database servers.
Use Notepad, or a similar simple text editor, to view the file and make changes as needed.
Below is an example set of entries. SBNA and SBNB are typical friendly names. These names can be anything, but you should check with your IT department to determine established names.
In this example, logging into Server name SBNA will attempt to make a database connection on IP address 1.2.3.4 using port 5000.
[SBNA]
master=TCP,1.2.3.4,5000
query=TCP,1.2.3.4,5000
[SBNB]
master=TCP,9.8.7.6,5000
query=TCP,9.8.7.6,5000
Note: Innovative Cloud Customers should either retrieve the file contents from an existing workstation or enter an SR asking for the correct sql.ini entries.
Registry
SBN.exe uses a Windows Registry key to find the Sybase data server definitions (sql.ini).
Windows Registry Editor Version 5.00
[HKEY_LOCAL_MACHINE\SOFTWARE\Sybase]
[HKEY_LOCAL_MACHINE\SOFTWARE\Sybase\Setup]
"SYBASE"="c:\\sybase"
WARNING: Always make a full backup of your Windows Registry before making any changes.
Download file SBN_Client_REG_Sybase.reg
This file can be found in the Downloads section of https://support.innovative247.com/ at /Installs
Right-click on the file and select Merge.
Pinning the Terminal ID
SBN identifies each workstation by a Terminal ID. The autodialer extension, debug capture, and other per-terminal options are looked up against this ID in the Terminals program (#1861). If a new PC has no Terminal ID configured, SBN falls back to an auto-generated ID built from the workstation's IP -- that auto-ID has no matching Terminals row, so terminal-specific settings (including the autodialer extension) come back blank and the autodialer reports "operator extension is blank... nothing to do."
When setting up SBN.exe on a new PC, pin the Terminal ID via the Windows Registry:
- Close SBN.exe.
- Open the Registry Editor: Start > type
regedit> Enter. (Administrator rights required.) - WARNING: Back up the registry before editing -- File > Export to your Desktop.
- Navigate to:
HKEY_LOCAL_MACHINE\Software\IBS\SBN\General. If any part of that path is missing, right-click the parent key and choose New > Key to create it. - With General selected on the left, right-click in the right pane and choose New > String Value. Name it exactly
TerminalIDand set its Value data to the Terminal ID you want to pin (for example,0014). - Start SBN.exe. The Terminal ID appears in the SBN status bar at the bottom of the window -- confirm it matches what you set.
The Terminal ID must already exist in Terminals (program #1861); if it does not, create or update it there before pinning it on the workstation.
Automatic Terminal ID
SBN can allocate a random Terminal ID when none is found, when the relevant option is enabled.